I’m a home renovation junkie. Turning my first house into a home has been the most exhilarating, exhausting and rewarding part-time job I pay to do. I’ve had a running list of things to change upon moving in.
Refinish Bathroom Cabinets
Paint Guest Bath
Paint Hallway & Ceiling
Refinish Kitchen Cabinets
Paint Kitchen Walls & Ceiling
Change Foyer Lighting
Add Chandelier to Kitchen
Add Curtain Rods to Laundry Room for Hang Up Storage
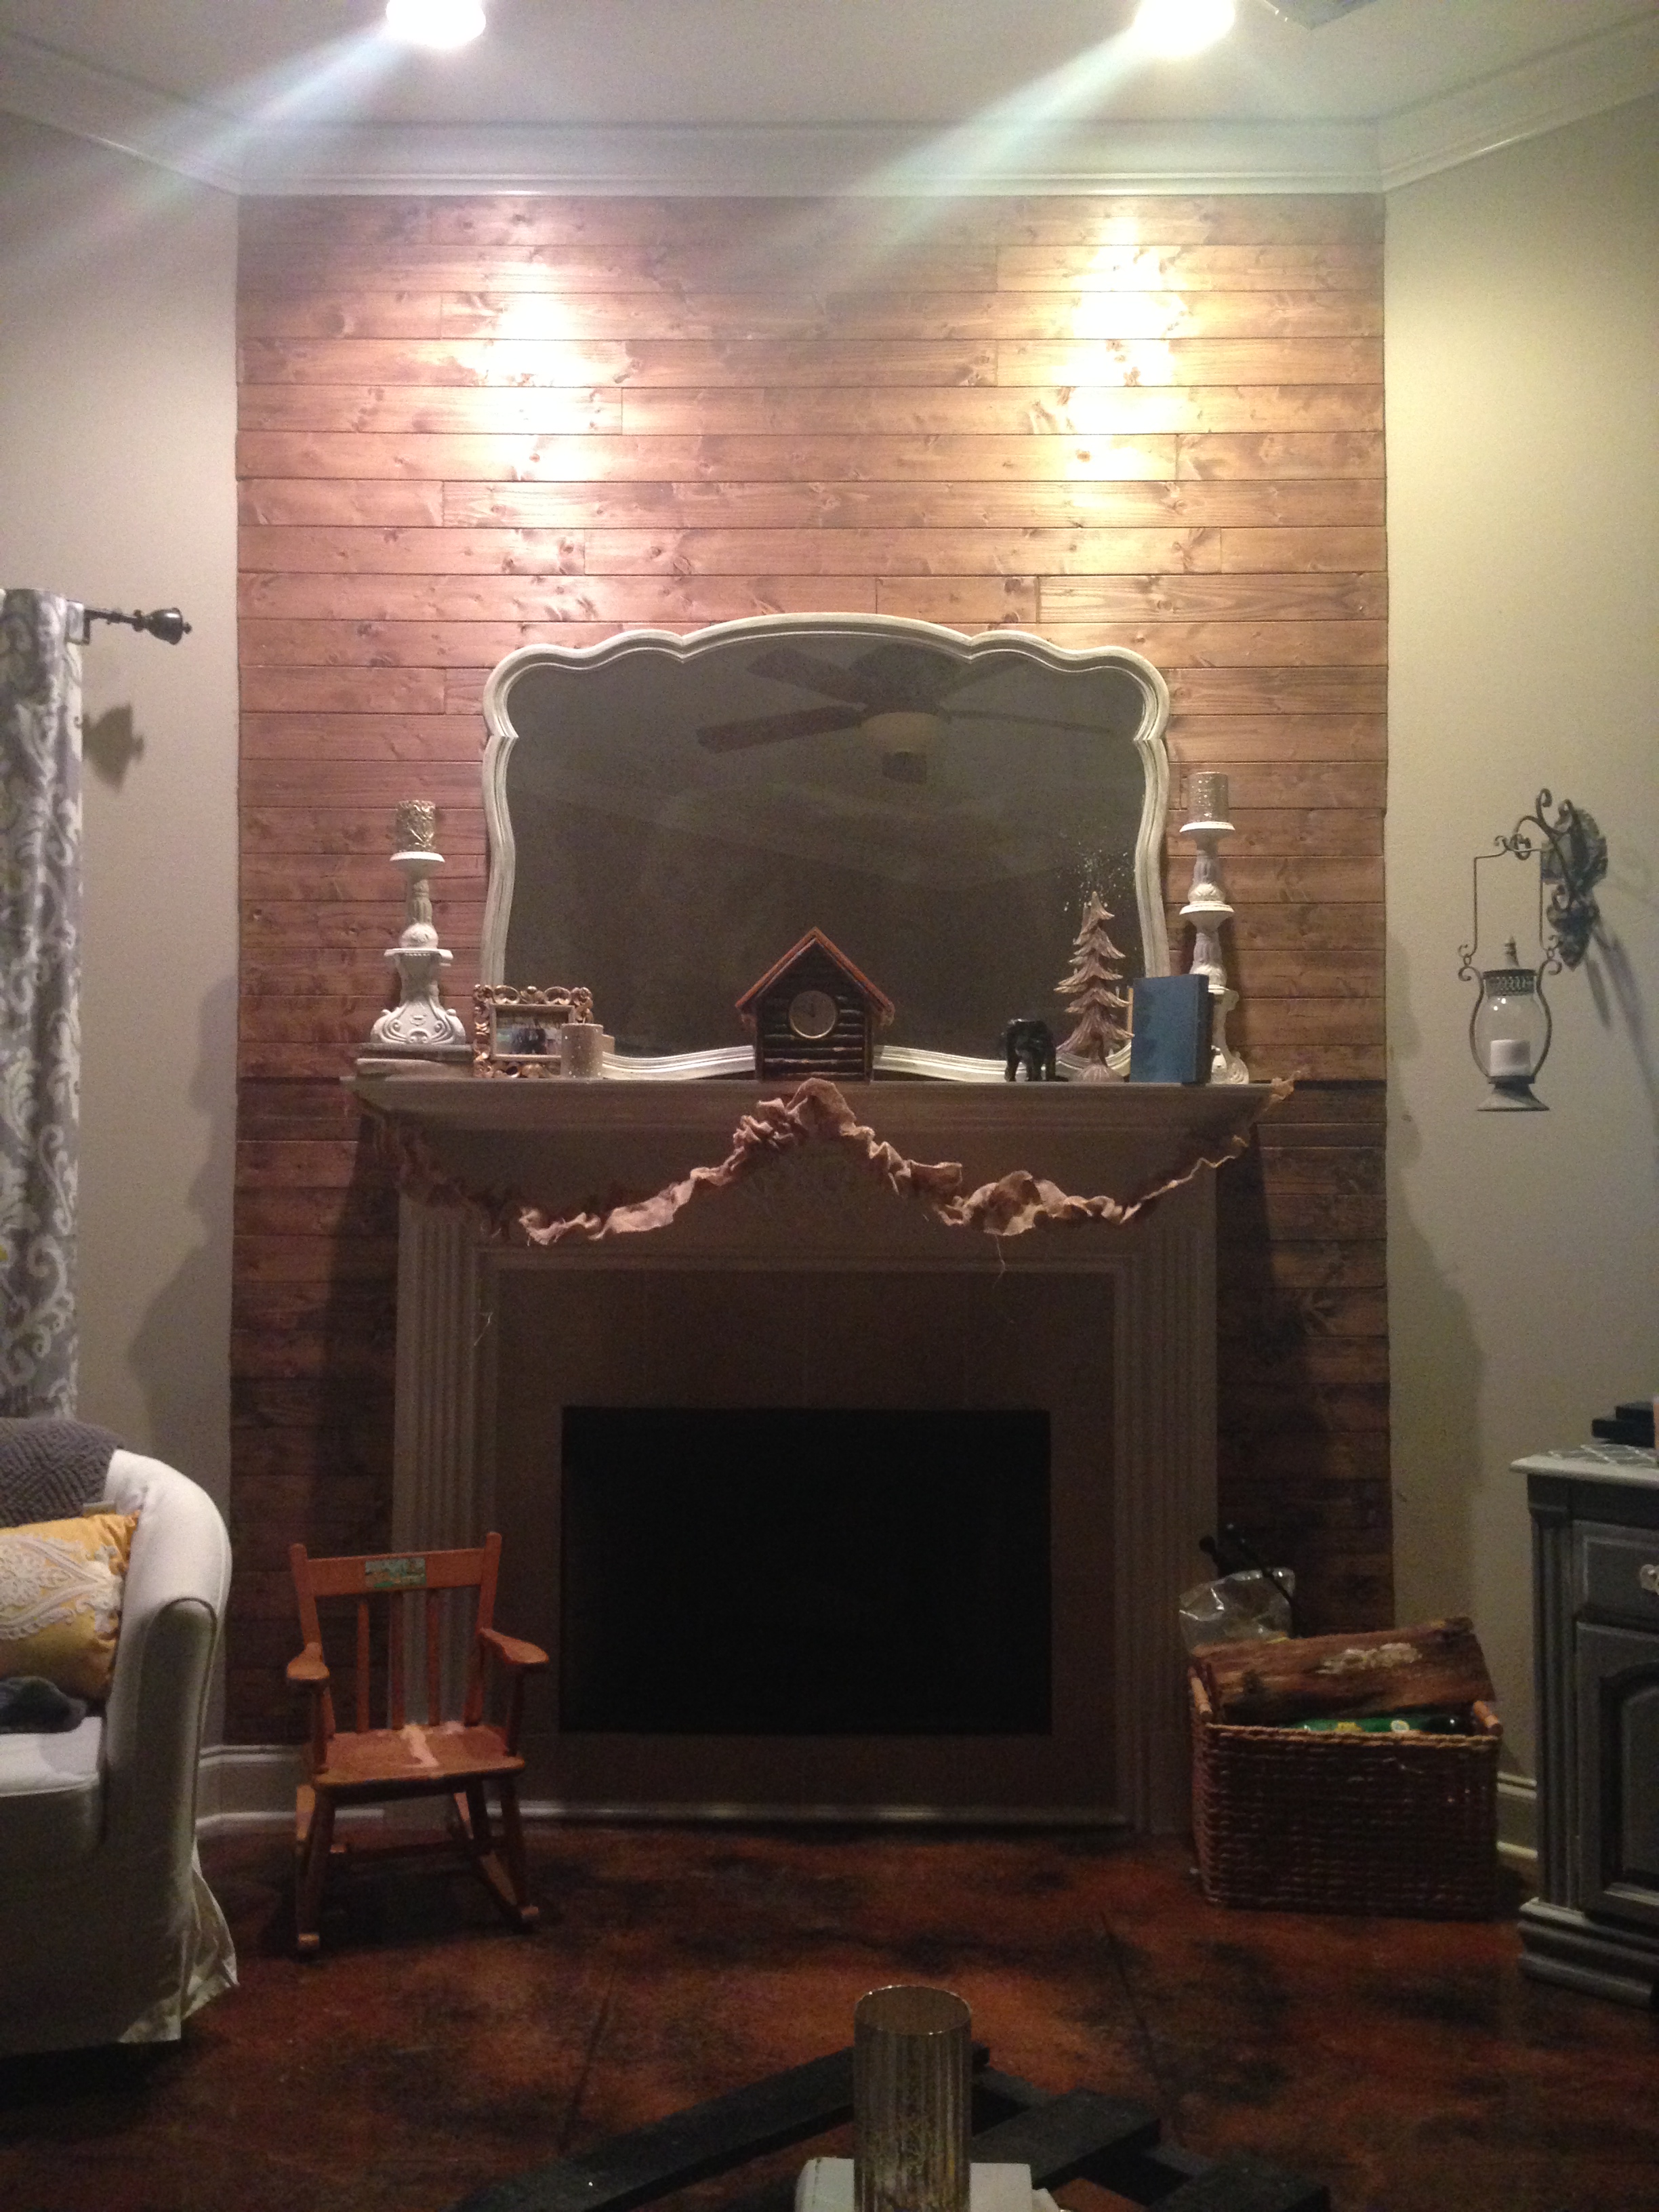
Add Wood Wall to Fireplace Wall
Get Granite put in Kitchen
Farmhouse Apron Sink in Kitchen
Subway Tile Backsplash
Paint Foyer Color (Color still undecided)
Paint Master Bath
Wall Paper in Master Bath Toilet Room
Pattern Paint in Master Hall
Paint Living Room
Wood flooring in bedrooms
Fence (I had no idea how expensive these are. I just keep praying my neighbors put one up, haha!)
You can see, I’ve been busy crossing things off my list. When I purchased my home it was in amazing condition. Really I could have lived in it exactly as it was, but if you know me, you know I just wouldn’t think that was any fun 🙂 I’ve gotten a lot accomplished though! I’m pretty gosh darn proud. With the exception of a few of the above, I’ve done them all myself (big shout out to Amy & Cliff for helping me, too!) There is still more to paint which I will do, but the remainder of things I just have to save up for a while to get done (wood floors, granite, backsplash, fence). Those things are not urgent at all though and will come over the next two years or so!
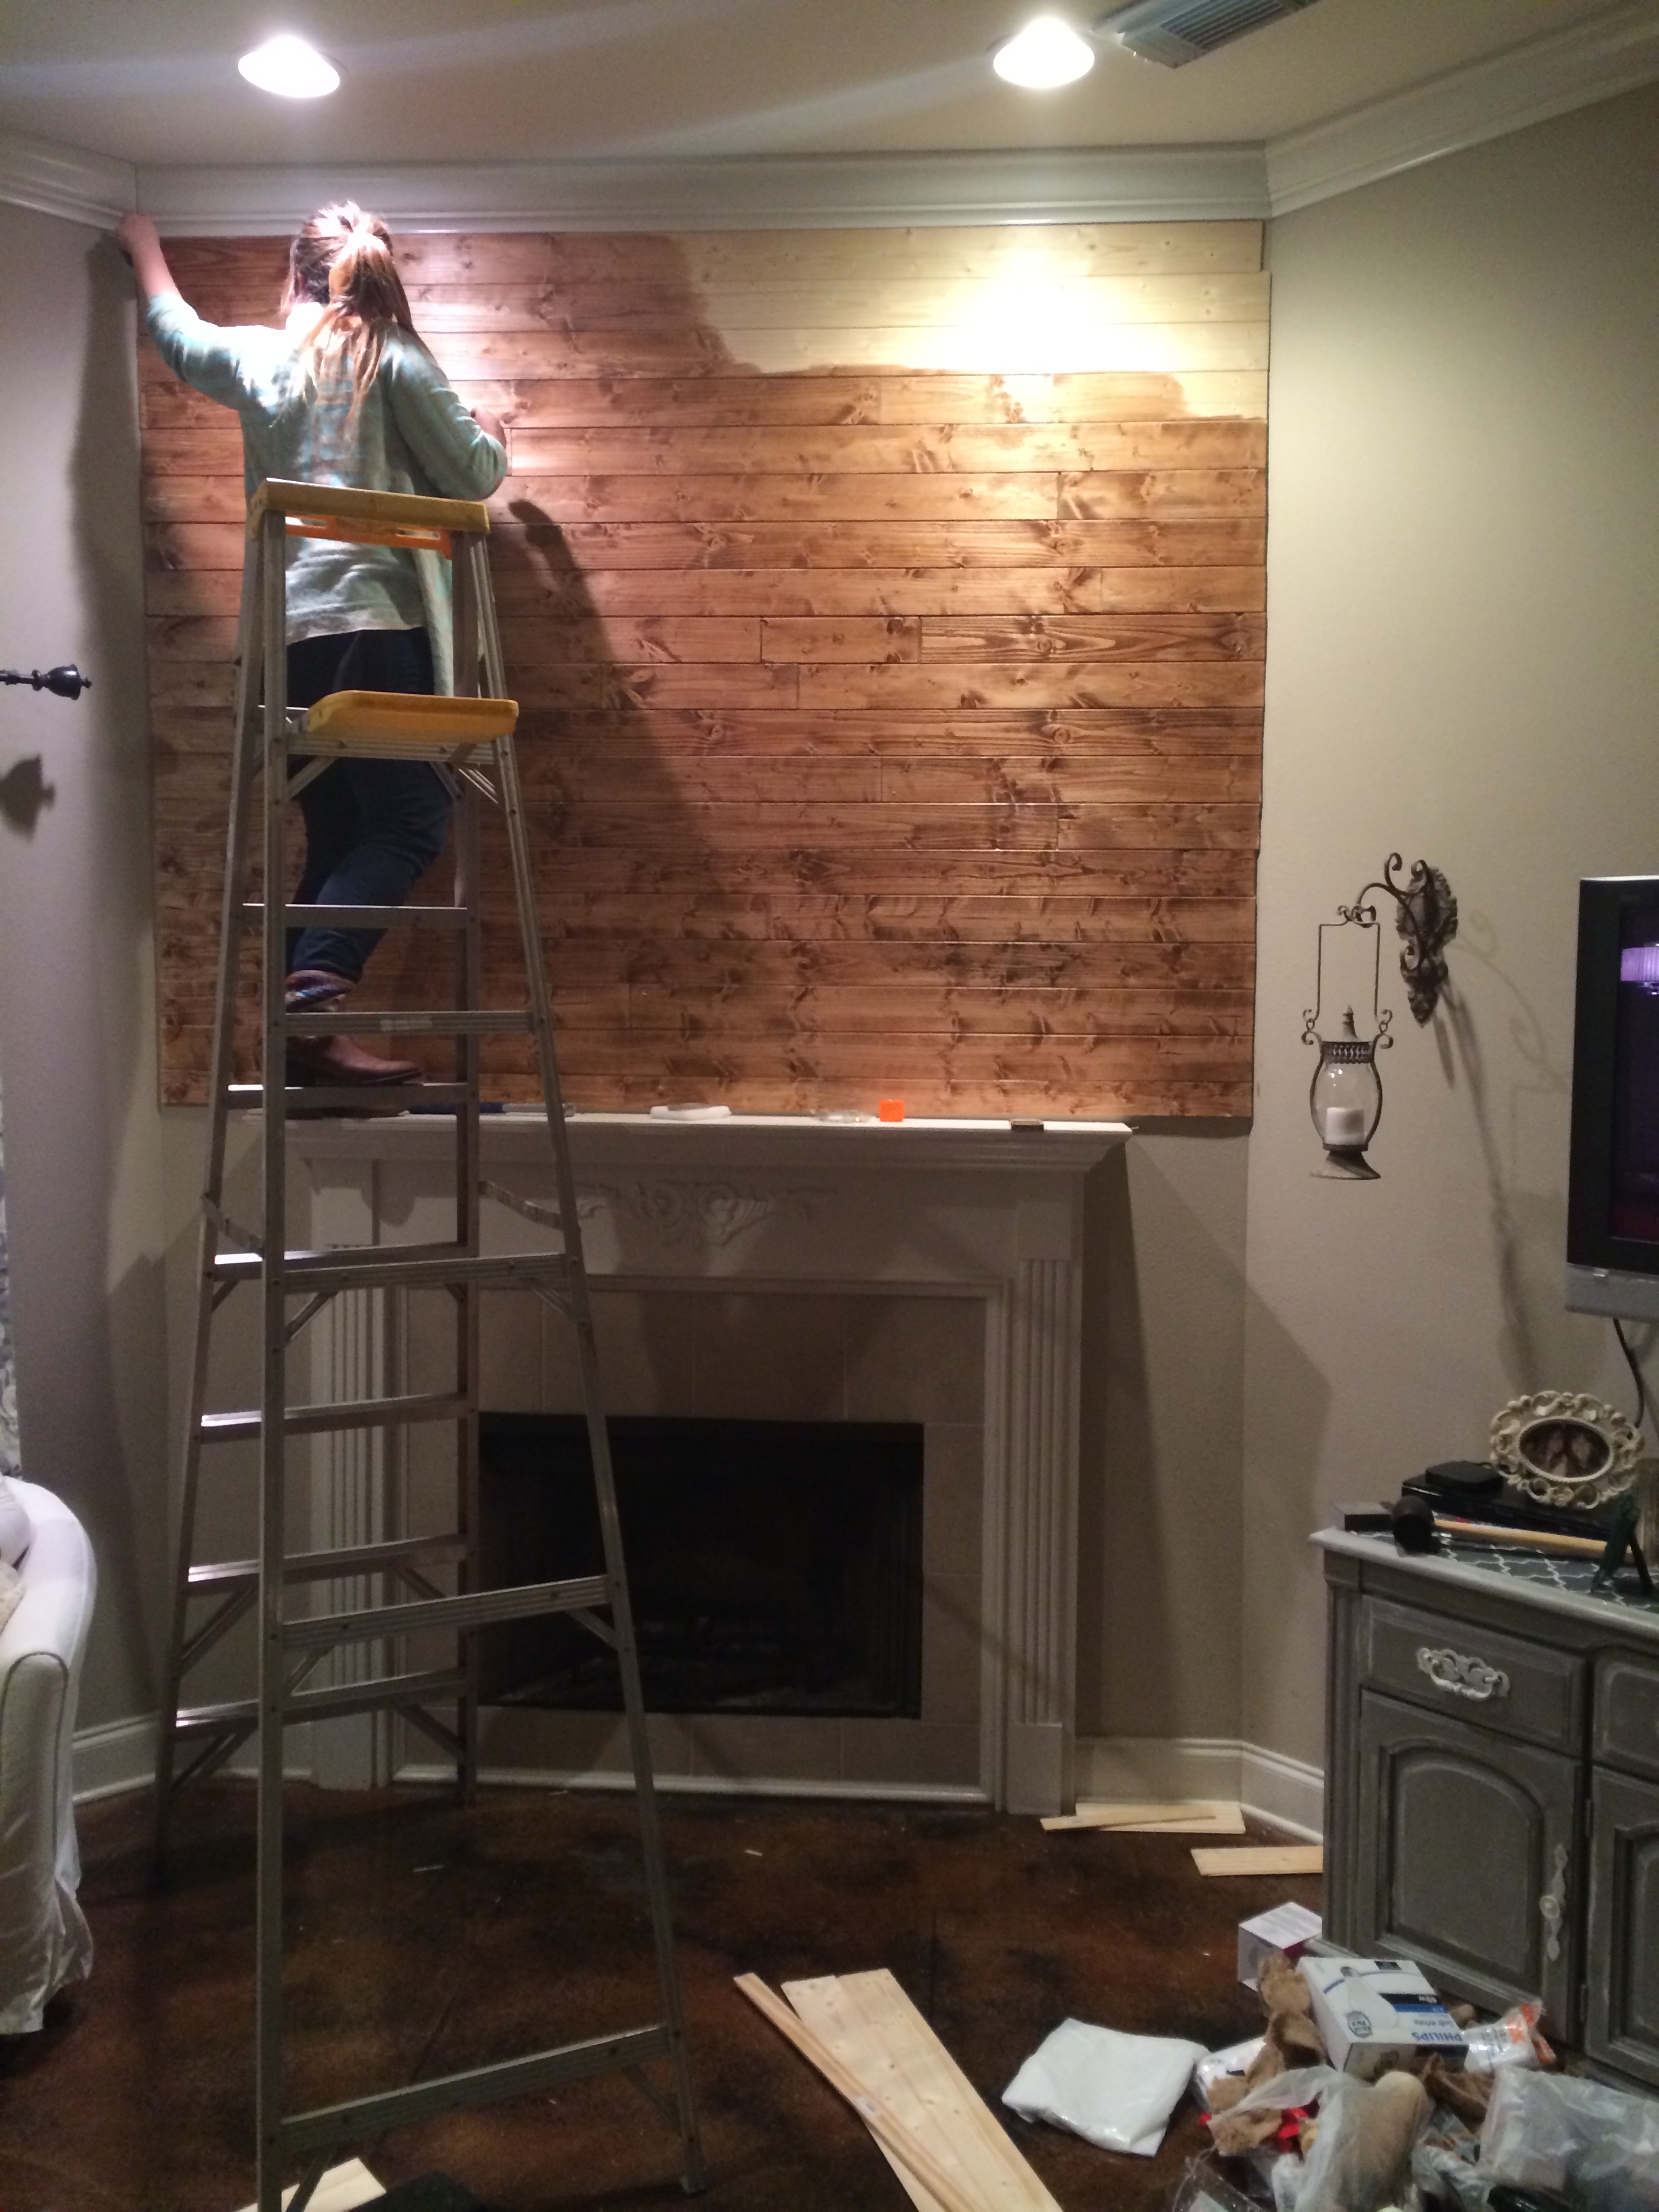
I was really wanting to add some warm wood elements to the living room – so my next up project was the Wood Wall.
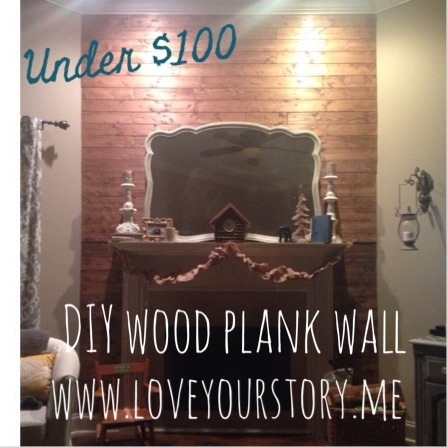
I researched the internet and found a few inspiration walls that I liked. I combined various elements from each to get the look I wanted. About $100 and a few hours of work and I’ll let you be the judge of how things turned out. Here’s the blogs I liked –
Here’s My DIY Wood Plank Wall Details
This is what my fireplace looked like to start off with –
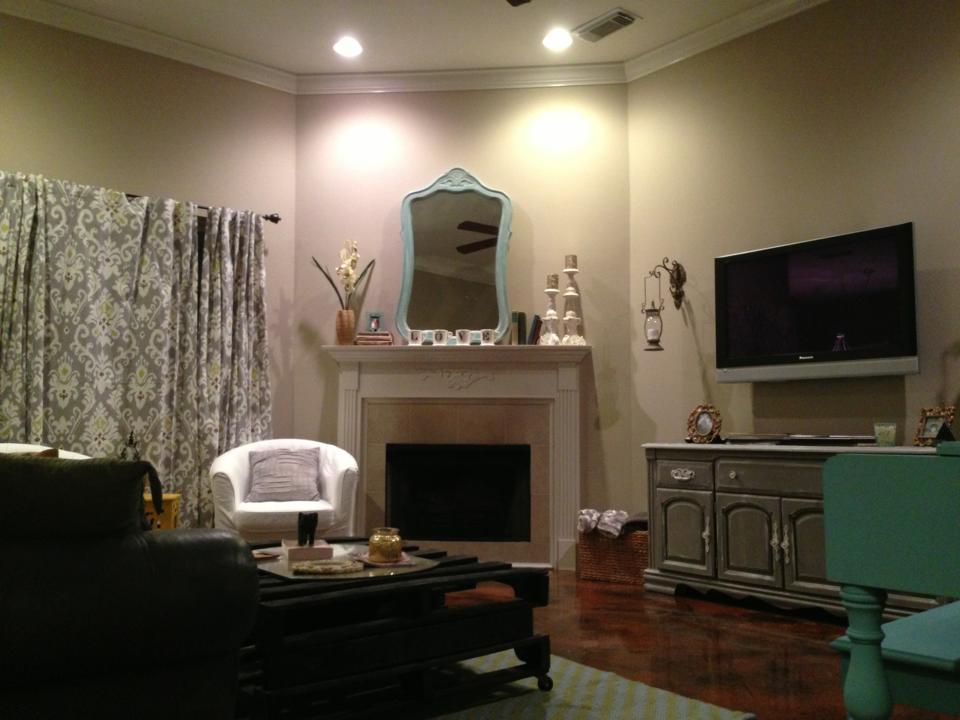
- The Fireplace Corner Wall
I love the corner wall and felt it was the perfect way to do have a cool accent wall without spending a fortune. I had planned on going with wood pallets, but the more I researched the more sure I was I just didn’t like the idea of having scrap wood that could have been exposed to so many harmful chemicals/elements prior that I wouldn’t be able to see…..and then nailing those into my sheetrock? No thanks.
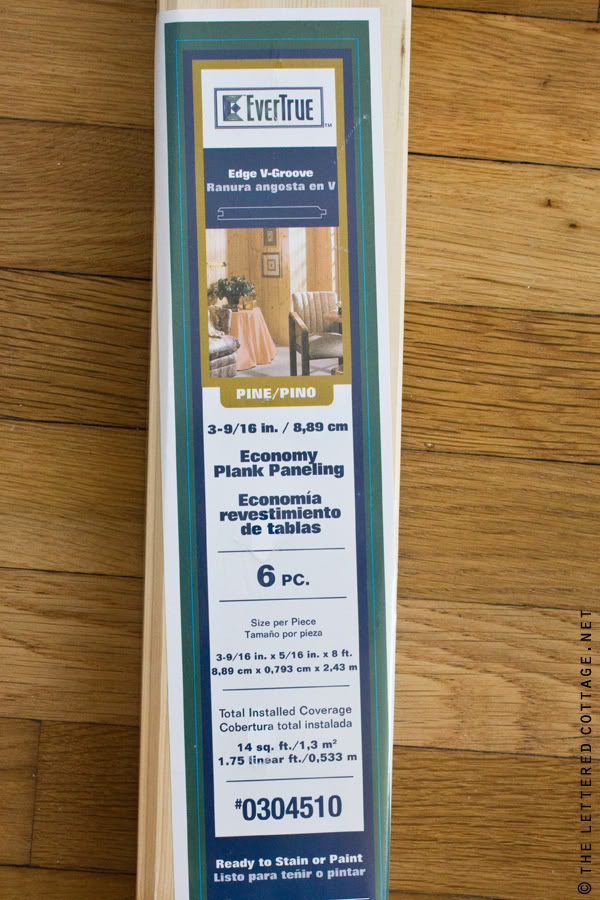
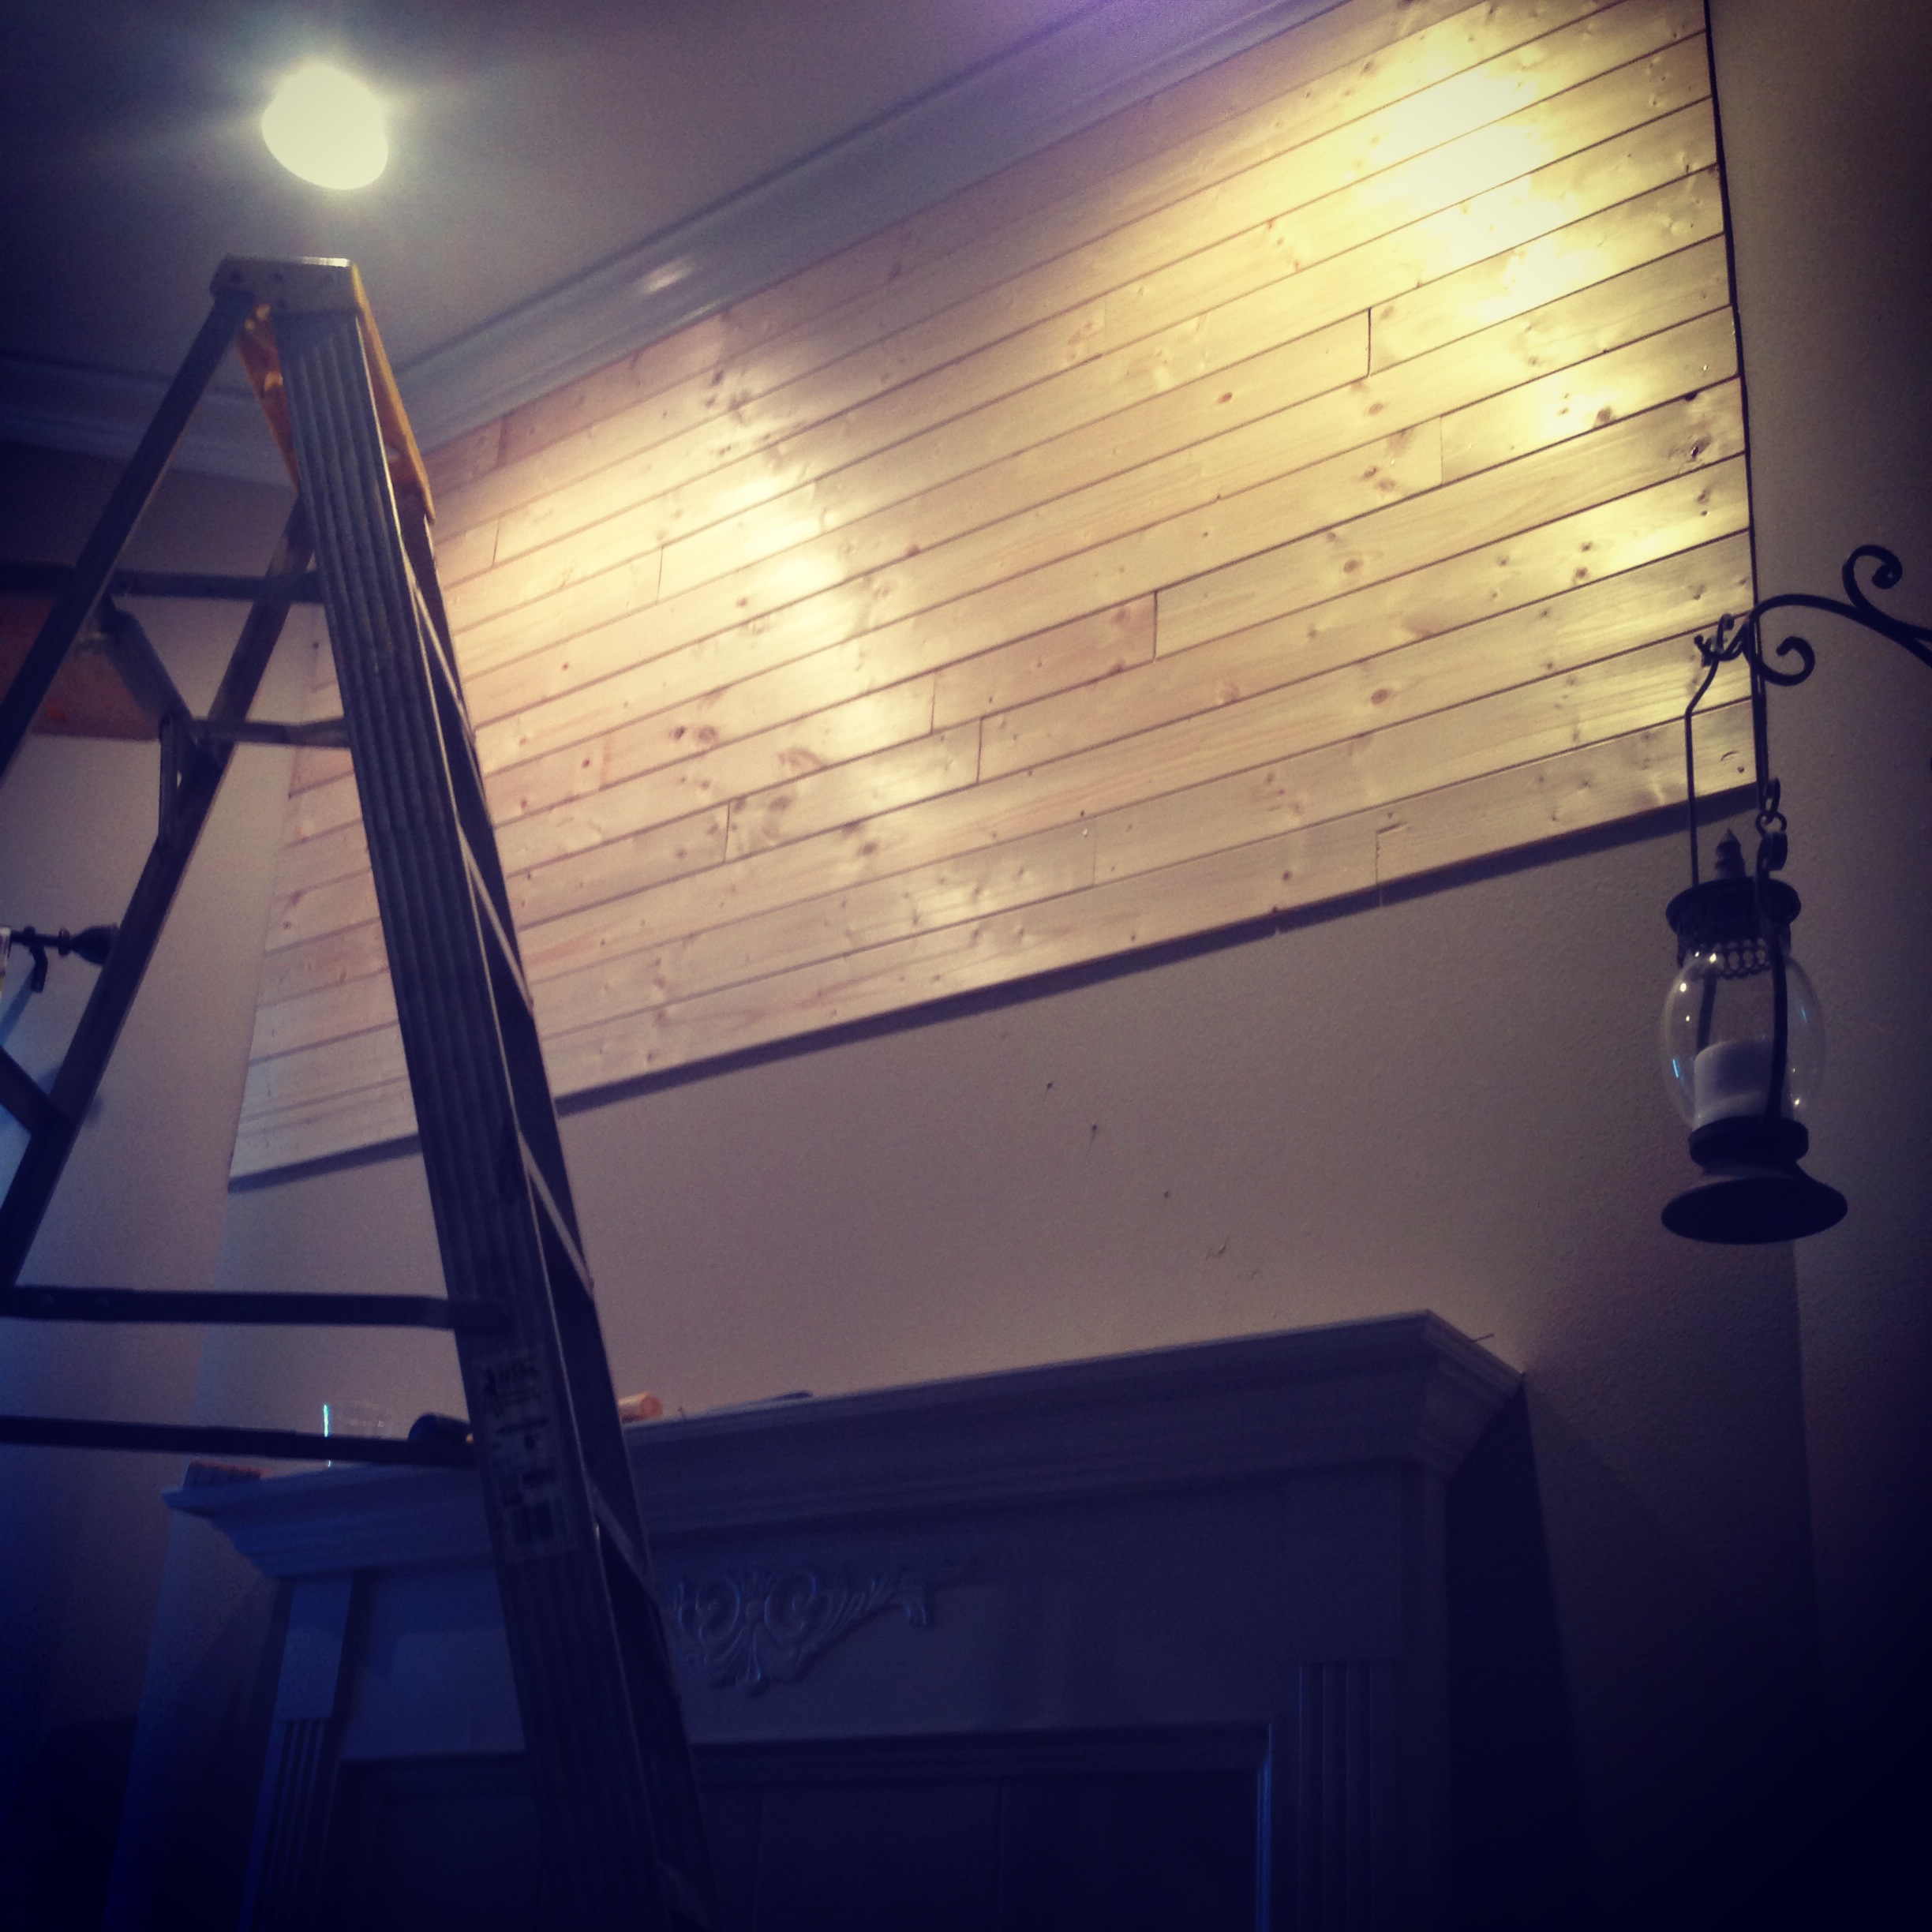
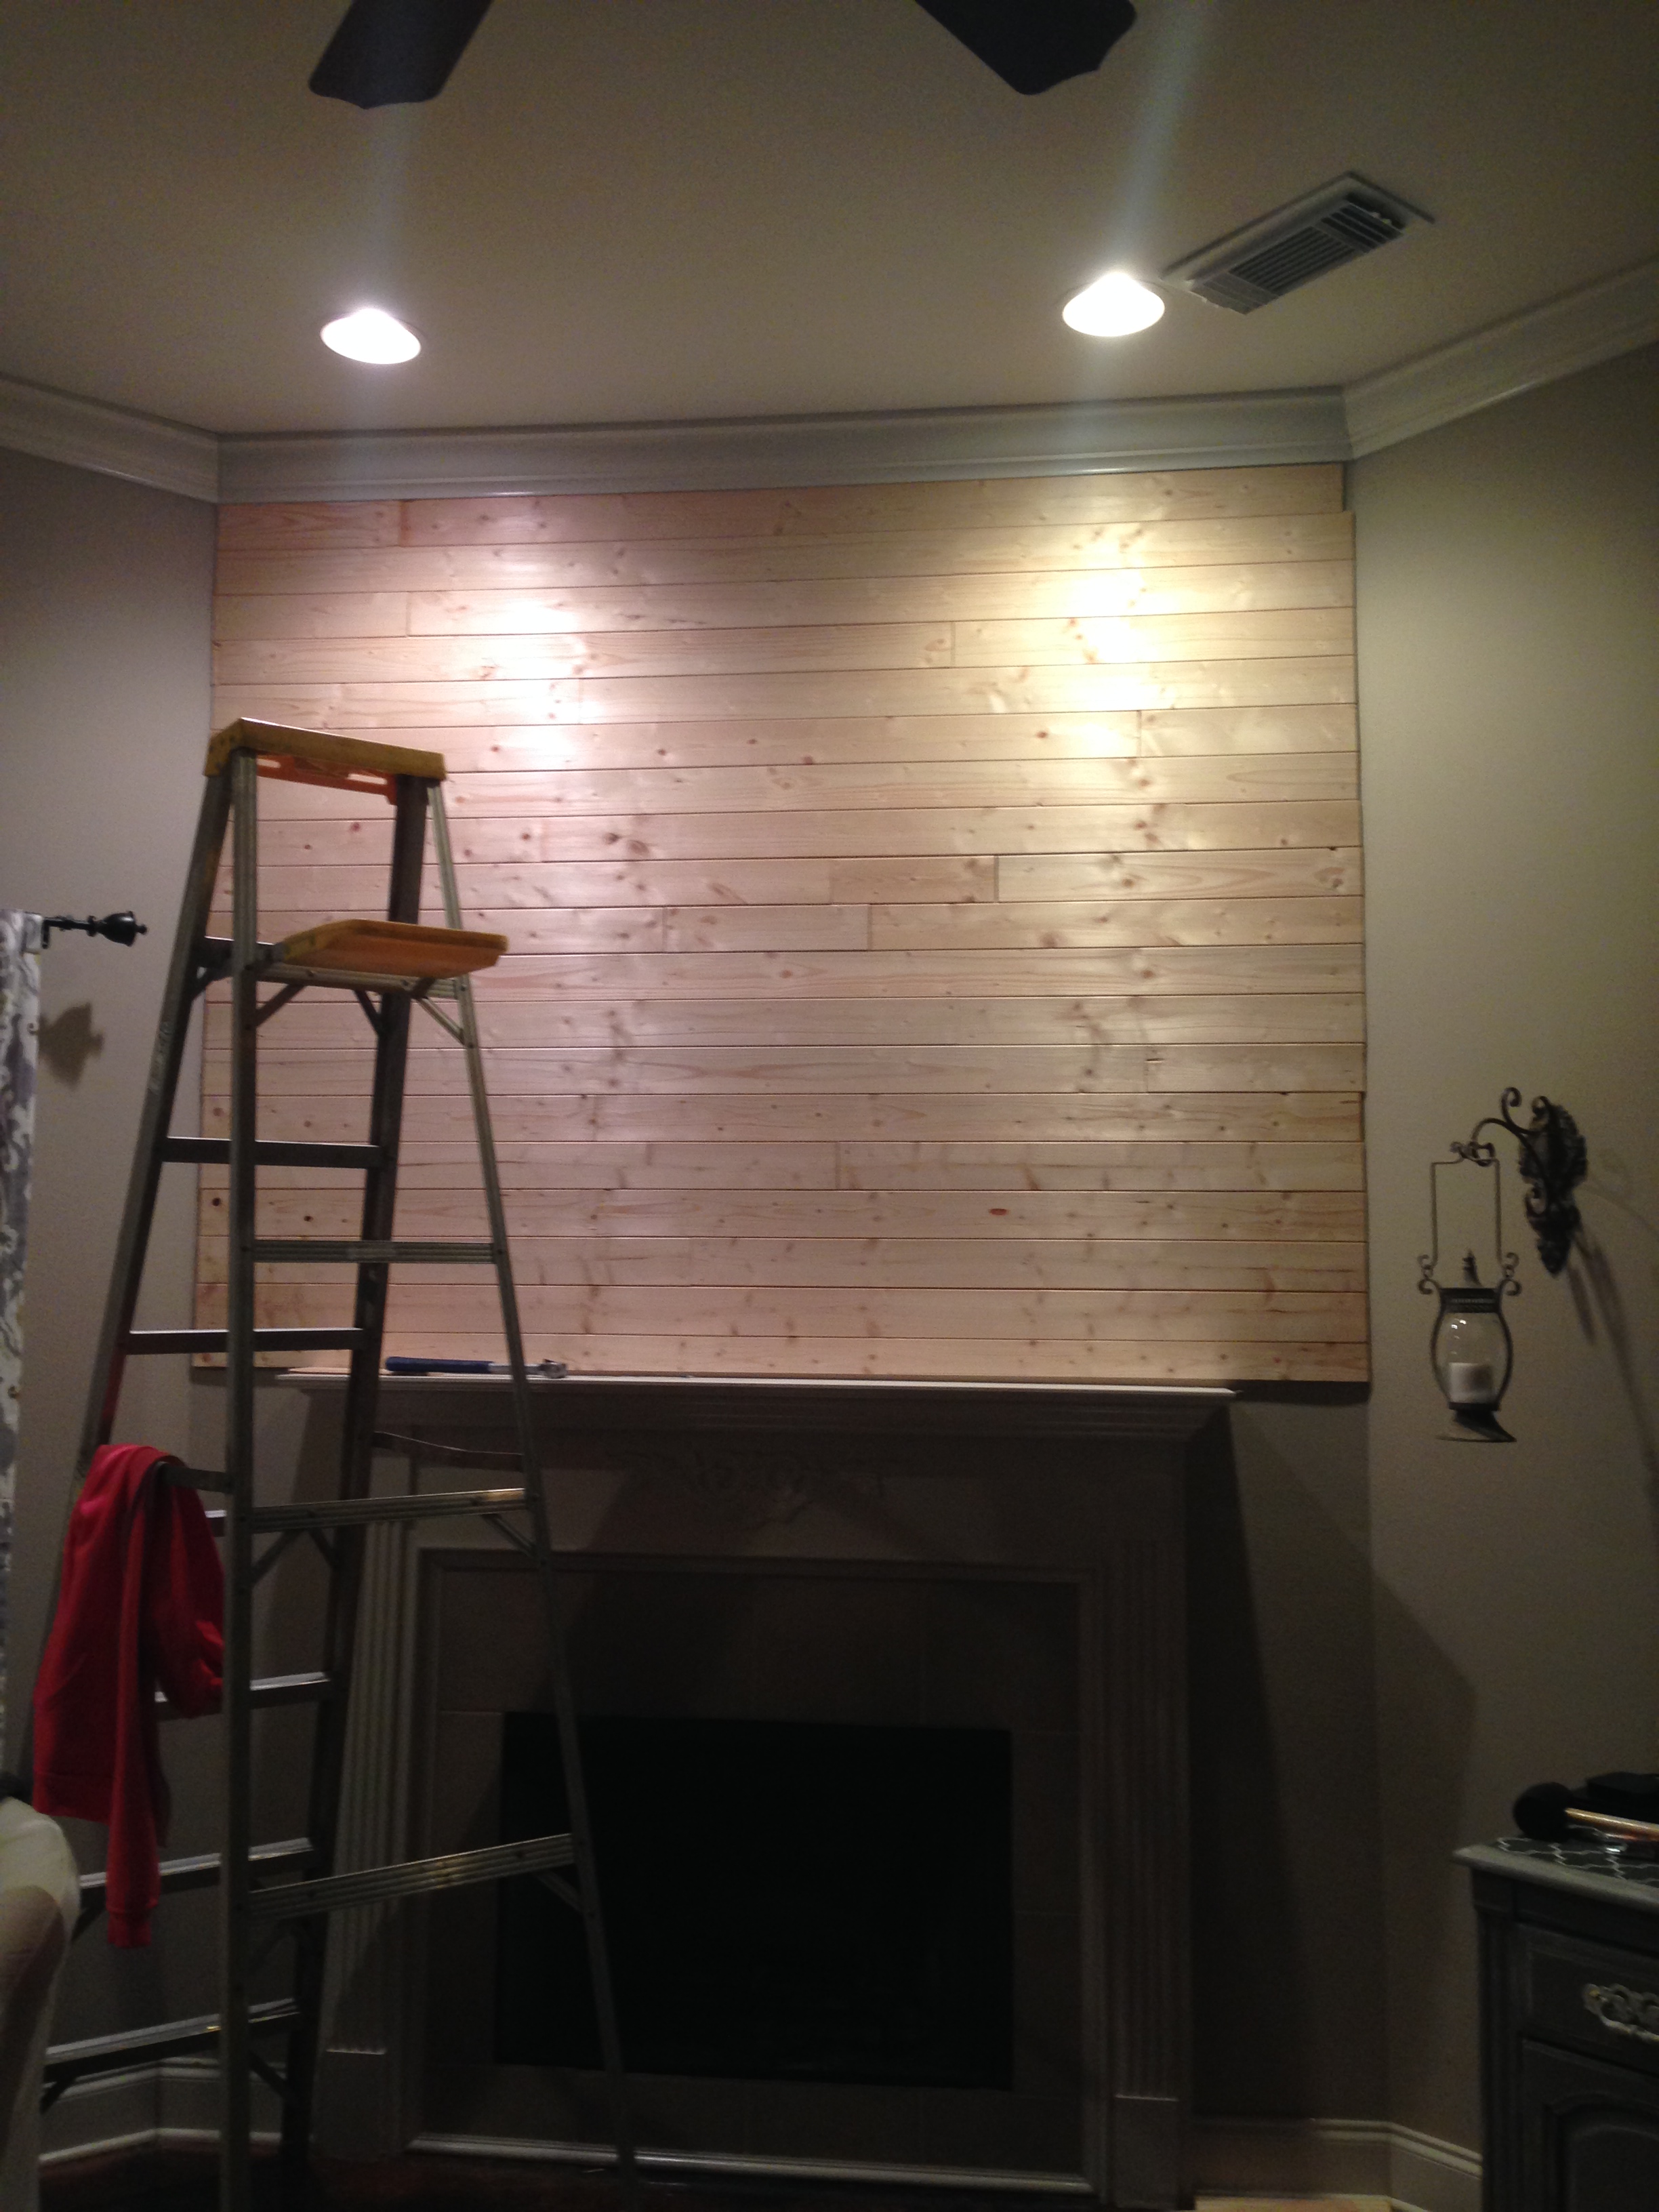
I opted for Evertrue Pine Plank flooring from Home Depot -v groove. They are light, clean, easy to cut, and slip into each other perfectly. They came in packs of 6 with each piece 96inches long. I needed exactly three packs and have a little bit let over.
Next up was deciding on what lengths each piece would be for the walls in order to create some kind of inconsistent pattern. I picked 4 row patterns that I alternated for above the fireplace.

In case it’s hard to tell in the drawing (I have no idea why it would be though – cause that is an EXPERT drawing), here are the 4 row dimensions. The total wall length was 85 inches –
Row 1: 15 inches & 70 inches
Row 2: 38 inches & 47 inches
Row 3: 56 inches & 29 inches
Row 4: 30 inches & 25 inches & 30 inches
With 4 row patterns, which I could flip, I had 8 row patterns in total. I ended up with 16 above the mantle, so it worked rather perfectly. The sides down each side of the mantle on the bottom half had to be cut on site because the wall was not perfectly even all the way down.
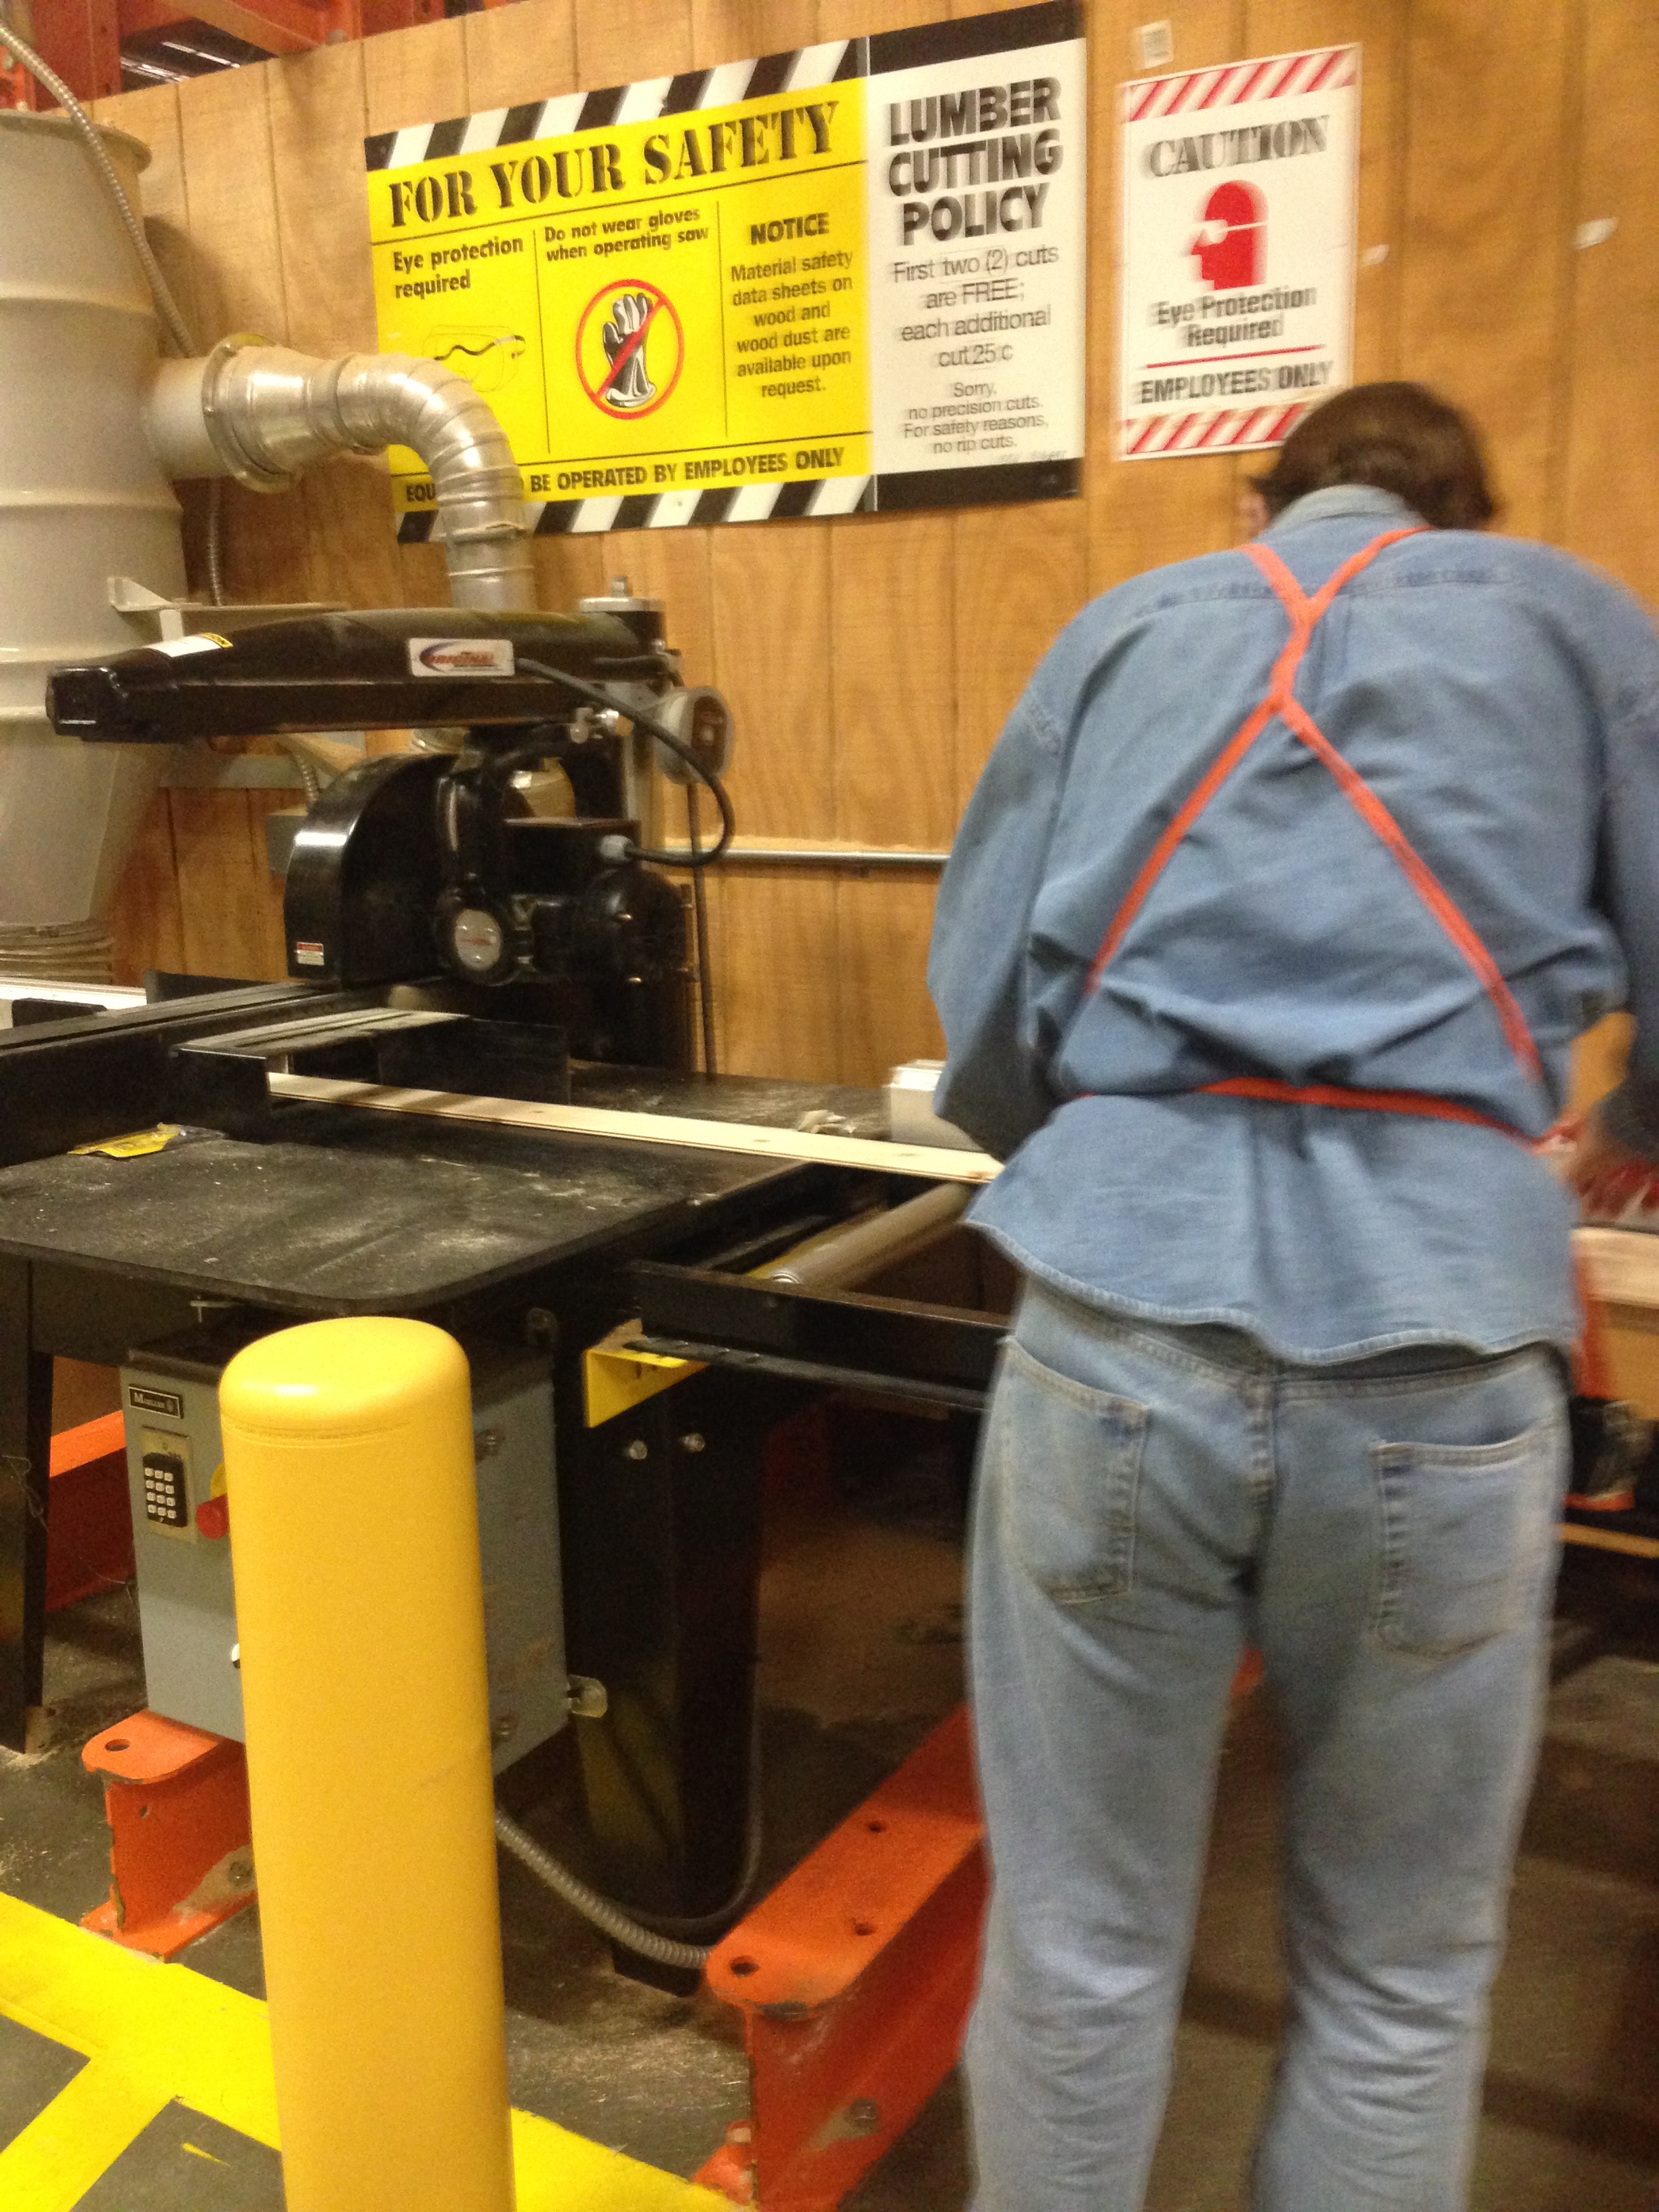
Prior to this, I didn’t own a saw nor had ever used a saw. I figured out my measurements and figured out how many rows I needed of each and was able to get Home Depot to do all the cuts for me for above the mantle. They don’t normally do multiple cuts, but due to my detailed planning I figured a way for them to do them all so that they were not doing 100 cuts at one time. I had them cut all 16 boards to 85 inches first ( in 3 cuts – they stacked the wood in groups of 5 or 6) and I saved the scraps from that cut- then we grouped the rest (4 of the 85 inches boards were cut at 15 inches – 4 were cut at 29 inches & 4 were cut at 25 then again at 30). I ended up only having to get about 5-6 cuts made. I was so thankful they did this it made it so easy when it came time to install. The boards above the mantle went up so easily -just nailed them in and in a few hours that part was done! If you have stud finder – mark where the studs are, and draw a line on the wall for nailing them in.
Let’s all just take a minute here to say THANK YOU HOME DEPOT IN COVINGTON, LA for working with me!


At this point, I realized I had to buy a saw. Partly, because I really wanted one and mostly because I really wanted one and a little because all the custom cuts on the bottom required one. 😉
For my birthday, I’ll be asking for more power tools. (head’s up people who buy me birthday gifts)
I looked into a few different ones and just purchased a basic Ryobi jigsaw that happened to be on sale for $30. My next project is setting up a womanized tool station in my garage. I feel like I should name this section of my blog, Girls and Power Tools. Whatcha think?
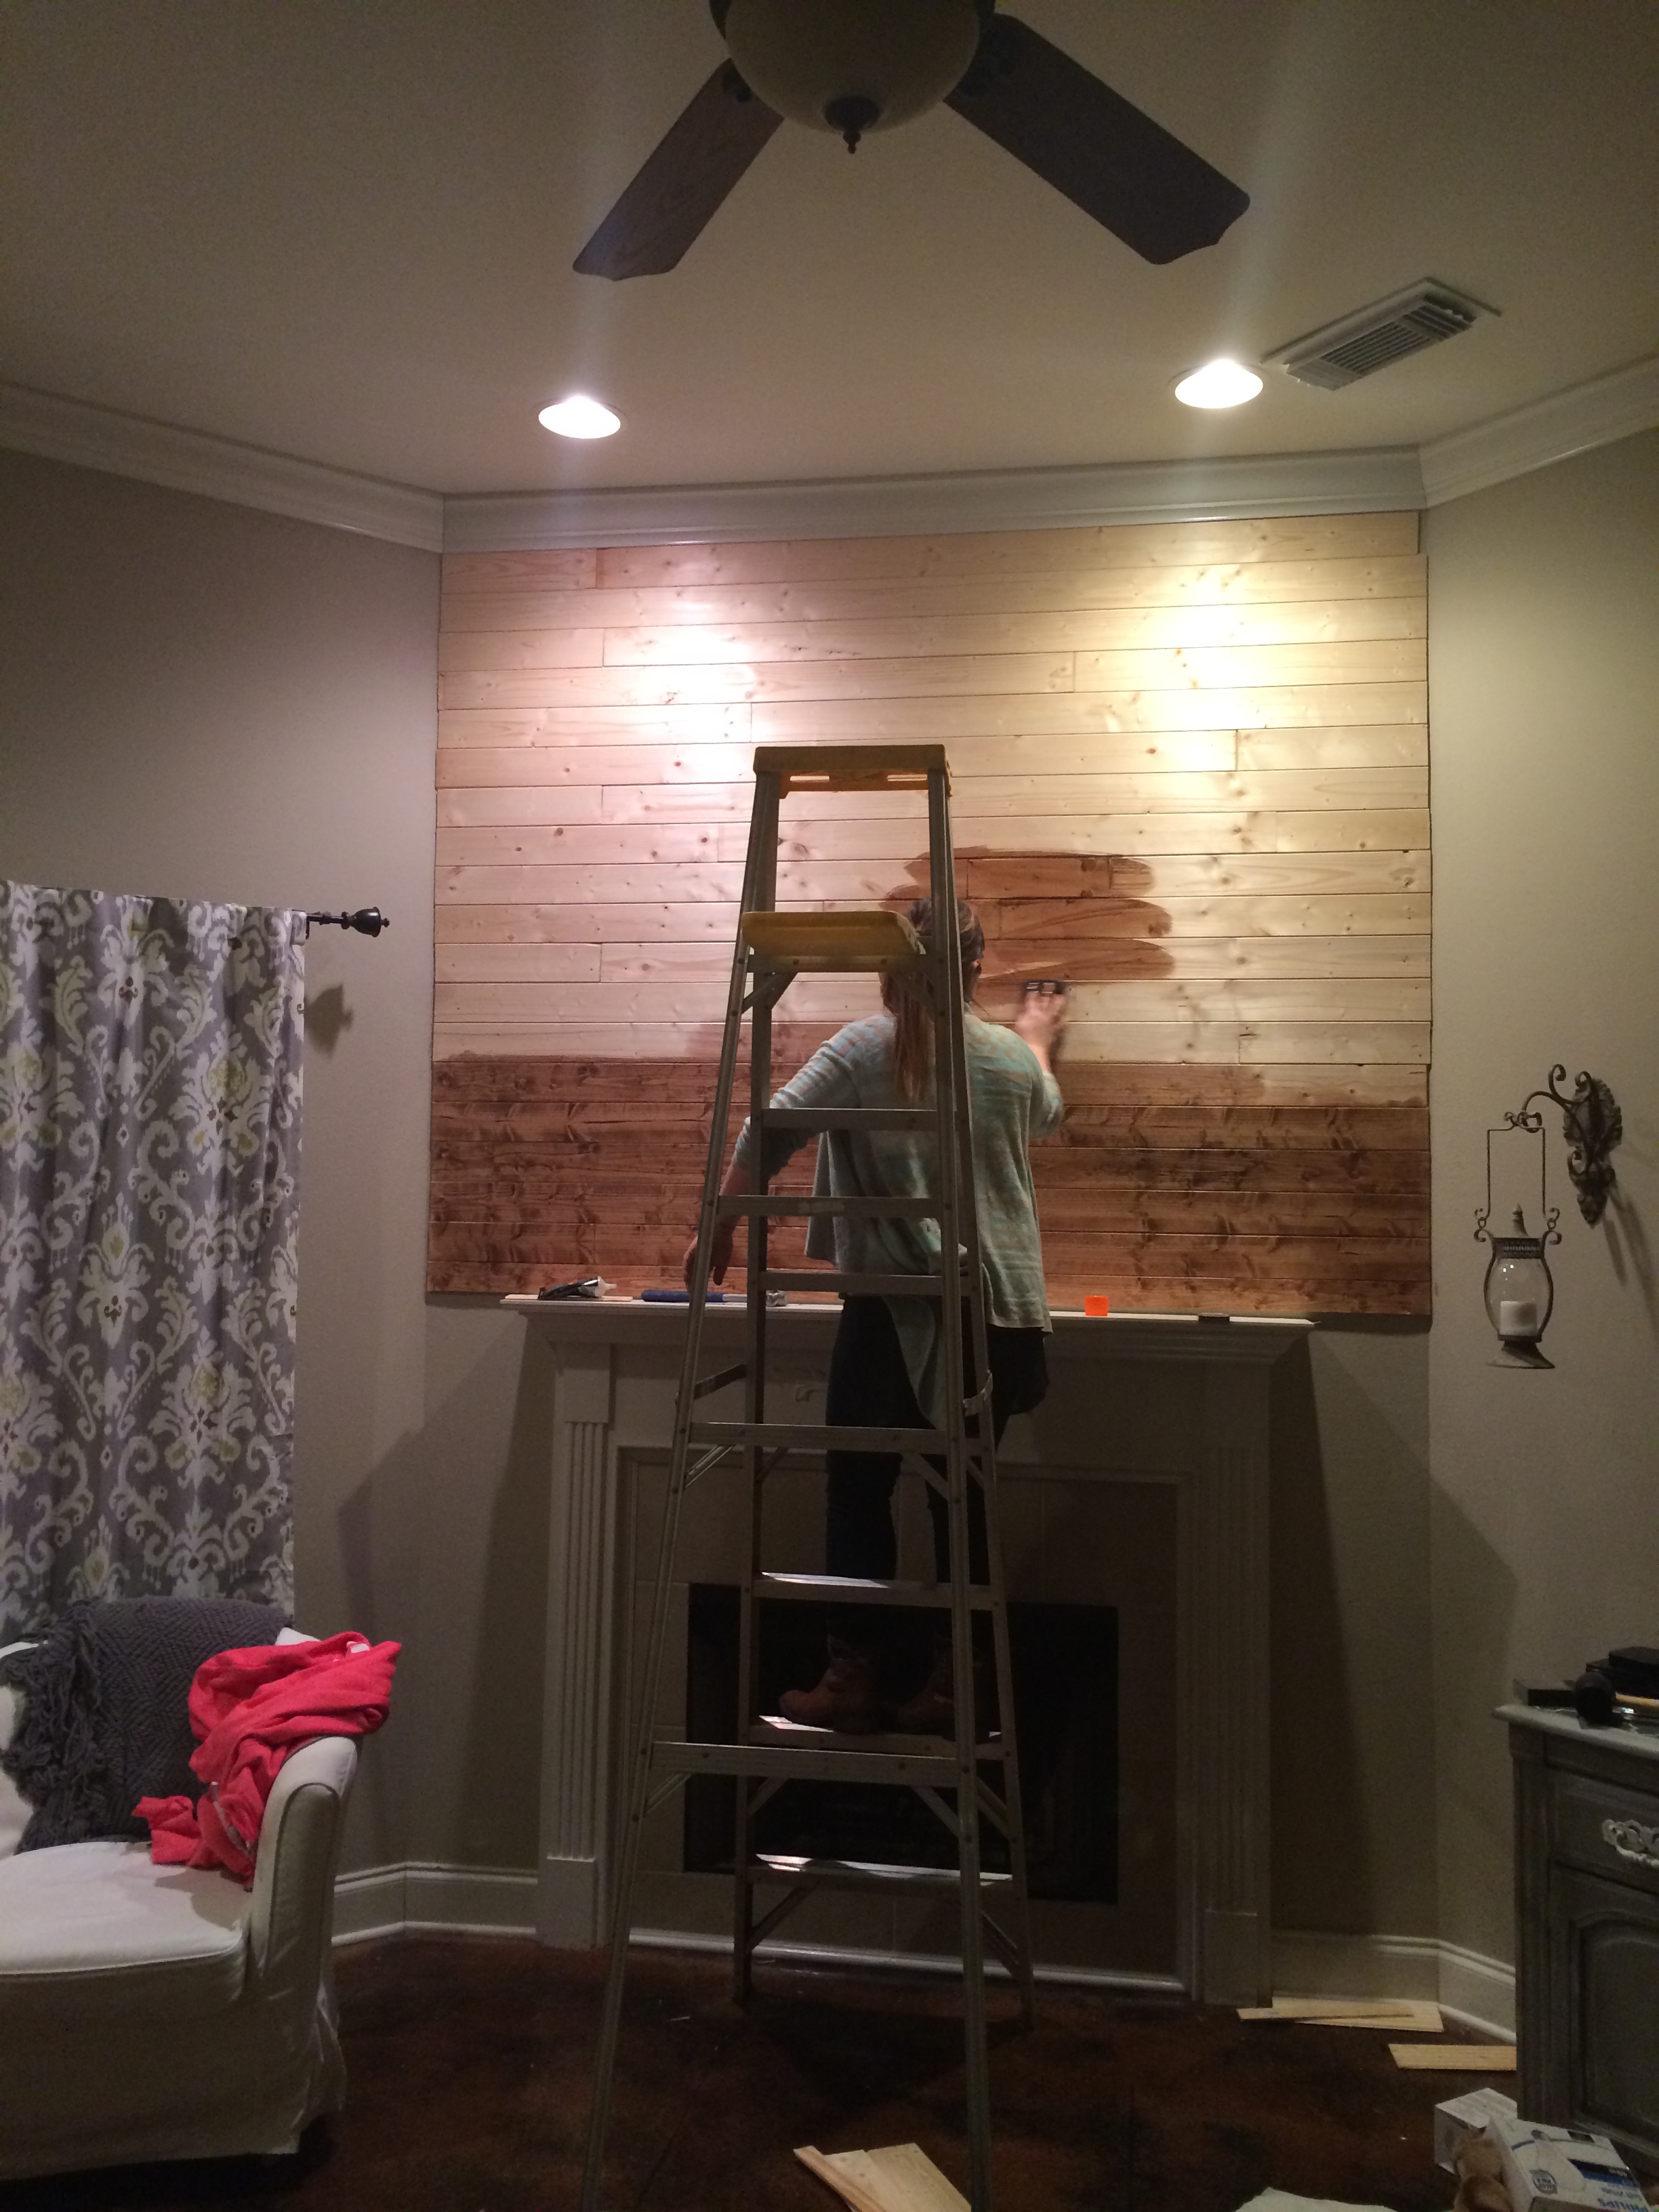
Anyways, night 2 – I just right on in and starting doing individual cuts on the wood floors. Now, I will saw with the jigsaw the edges were not AS SMOOTH as the ones from Home Depot. I’d have preferred to purchase a table saw, but I’ll have to save up for that. This was quick and easy. I just sanded the edges of the boards and used a bit of wood glue if needed to fill in any gaps. Really the distressed look made the wall edges look cooler anyways, so it worked out. If that’s not what you’re going for though, just be prepared to sand a bit more. After the custom cuts and nailing them into the wall – it was done!

- Finished product